Mango9 Builder Studio
Studio tour
Learn where to start, where your app runs, and what each workspace control does.
Mango9 keeps building, previewing, and account management in separate places. Once you know those three places, the whole app becomes easier to use.
Studio is where you discuss and build. Preview is where you use the development app. Console is where you manage the account, projects, services, and production. Moving between them does not create duplicate projects or publish unfinished work.
The layout adapts to the screen you are using. Desktop can show Chat and Preview together, while mobile gives each one enough room with tabs and a tools menu. The underlying project and conversation remain the same.
Example: You can send a build from your phone, open the same project on desktop to inspect the larger Preview, and use Console to connect a domain after publishing.
Studio home
Studio home is where you start a project, begin an Ask conversation, or return to recent work.
Use the center composer when you have a new idea. Use Recent Chats when the next step is more discussion, and Recent Projects when you want to continue an existing app. Opening a project returns you to its latest conversation and development state; it does not restart the idea from the beginning.
Example: Choose a recent project named “Wholesale quote portal” when you want to add approvals. Start a new Ask chat when you only want to compare approval policies across products.
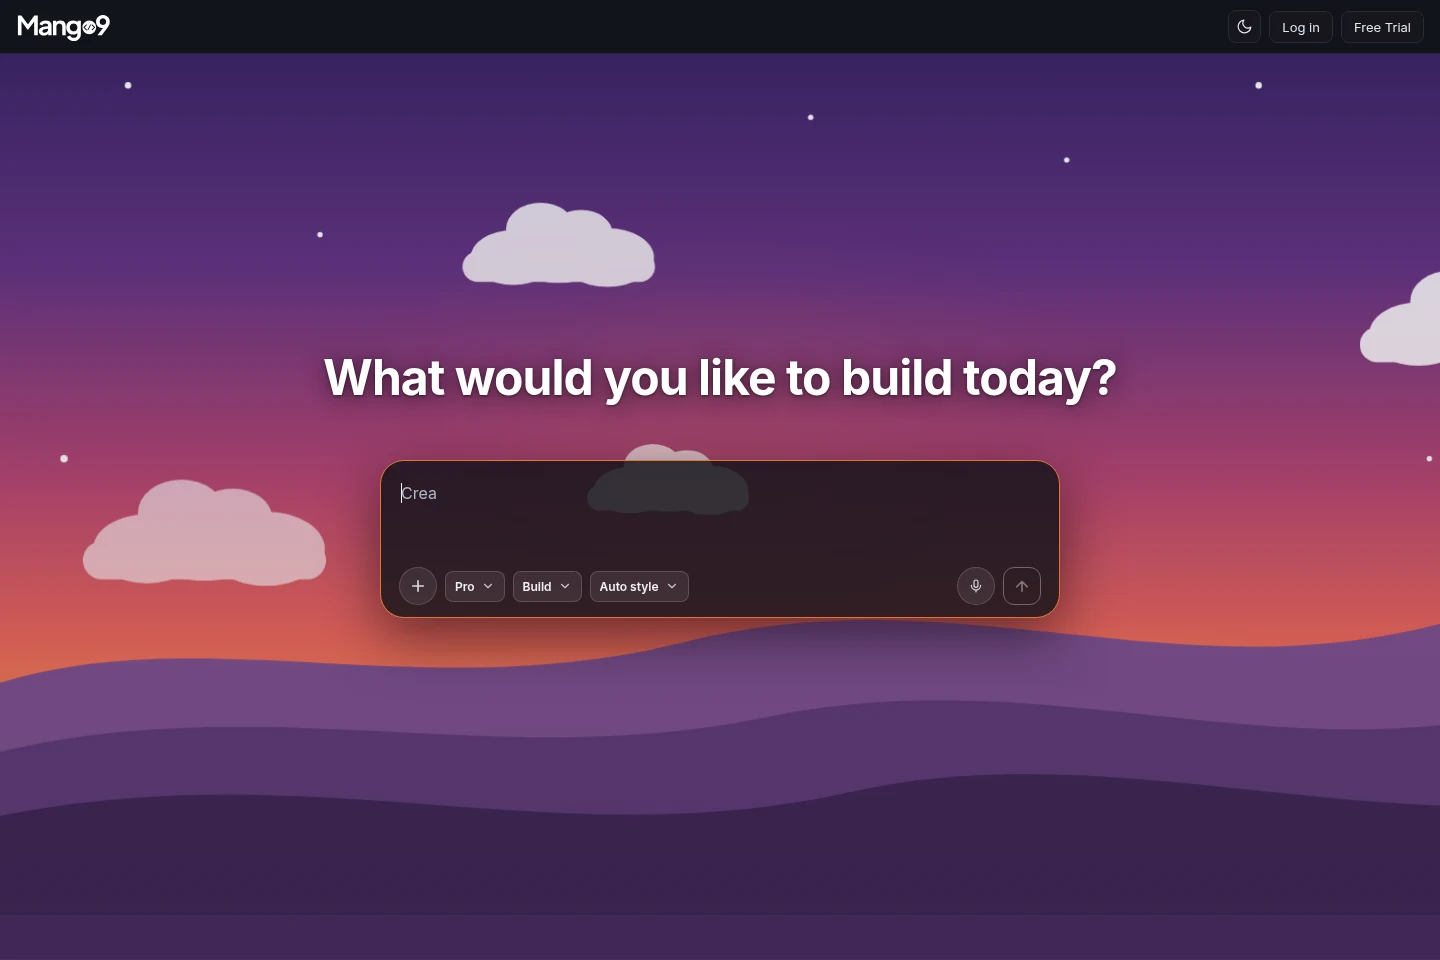
The first screen stays simple: describe the outcome in the center, then return to recent Chats or Projects below.
Open a saved Ask conversation when you want to continue planning, research, or product discussion. A standalone chat remains separate from project changes until you intentionally turn its agreed direction into a build. Open a working app and continue from its latest saved state. The project contains its Preview, build history, versions, settings, and relationship to production. Manage the account and operational side of Mango9: projects, billing, team members, domains, integrations, development servers, and production. Confirm the account and project before high-impact actions. Open the signed-in identity, account shortcuts, Help & Docs, and sign-out choice. Check this menu when you need to confirm which user and balance are active.
Header shortcuts
The header is for account-level actions you may need from anywhere. These controls are intentionally separate from the chat prompt: pressing Publish, opening Billing, or changing the theme should be an explicit user action, not something inferred from a build message.
Example: After verifying the app, use Publish in the header. Do not spend another build asking, “Can you make this live?”

These shortcuts remain available while you work, so you can publish, check the wallet, open Console, change theme, or manage the account.
Prepare the approved development version as a production release or update an existing release. Mango9 checks the app type, plan, database, and other required setup rather than publishing an unfinished draft blindly. Open the current account wallet and billing information. The balance funds metered work; transaction details explain how it changed. Open the account, project, team, domain, integration, billing, and cloud-management pages. These product controls remain separate from Build prompts so important operations stay explicit. Switch between the available light and dark appearance for Mango9. The choice changes your workspace display, not the brand or theme of the app being built. Open the signed-in user's identity, account links, help, and sign-out controls. Use it to confirm you are operating under the intended member rather than another account or support context.
Inside a project
On desktop, Chat sits beside the running app. On mobile, use the Chat and Preview tabs so each area gets the full screen.
Chat is the durable story of what you requested and what each turn produced. Preview is interactive and can change as a build runs. When comparing the two, trust the current Preview and completion evidence over an early progress sentence.
Example: A progress message may say the Leads page was added. Open Preview and use its menu and route to confirm a salesperson can actually reach that page.
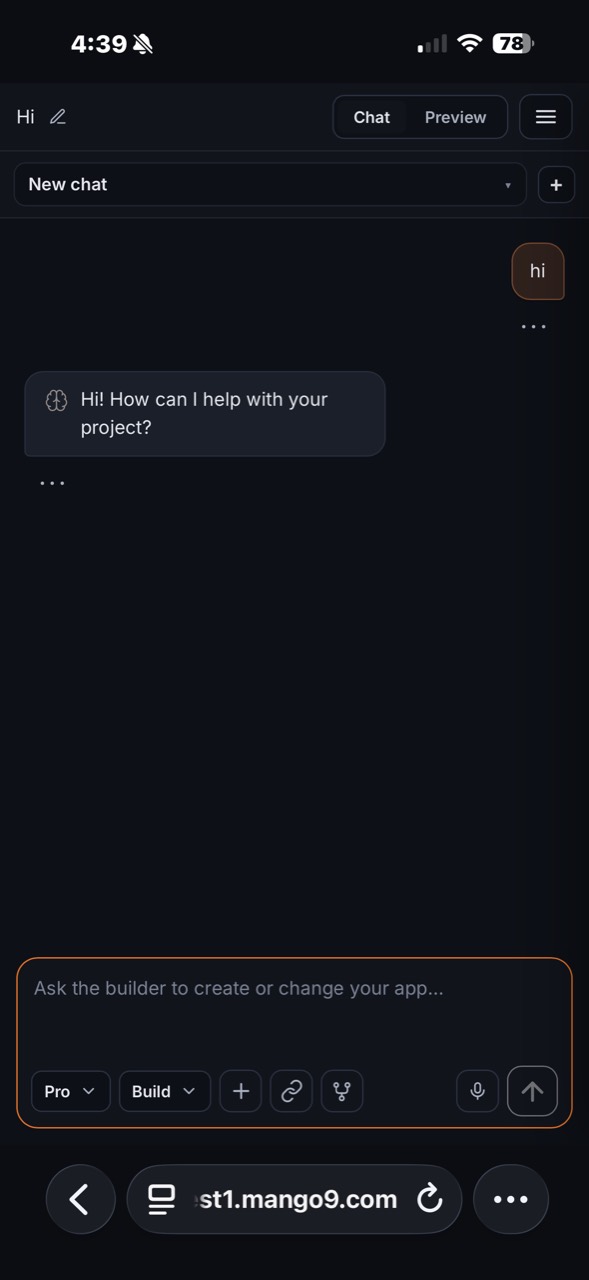
The project header keeps Chat and Preview one tap apart. The composer at the bottom continues work on this project.
The top of the workspace
These controls keep project identity and navigation close together. Before sending a request, glance at the project name and current tab. That small check prevents a correct request from being sent to the wrong app or a Preview observation from being mistaken for a Chat message.
Example: If two projects are both called “CRM,” rename them “Retail CRM” and “Partner CRM” before continuing work.
Tap the pencil to replace a temporary title with a clear product name. A good name helps teammates distinguish similar projects across Studio, Chats, Console, and support evidence. Read requests, concise progress, completion cards, saved-version evidence, and optional recommendations. Chat records the work, but the current Preview remains the place to test the app. Use the running development app as a customer or staff member would. Navigate routes, press important controls, try realistic data, and check the device sizes relevant to the request. On mobile, the gear opens tools that do not fit safely in the header, such as App Map, Code, Terminal, Security, and System. It changes their location only; each tool retains its normal purpose and permissions.
The desktop workspace tools
- Preview shows the running development app.
- App Map shows the pages and how the app is organized.
- Code lets advanced users inspect the project files.
- Terminal shows development output when troubleshooting.
- System contains versions, usage, and project operations.
- Select, Brand, Style, and SEO add precise context to the next request.
Most work begins in Chat and is verified in Preview. The other tools answer narrower questions: App Map explains structure, Code and Terminal expose technical detail, System shows project operations, and the visual tools attach precise design context. Open them when they help the current task rather than treating them as steps every build must visit.
Example: Use App Map to confirm the
/leadsroute exists and appears in the experience. Use Select when only the Leads menu item needs a visual correction.
Completion cards
When a build ends, the completion card separates the result from the progress messages above it.
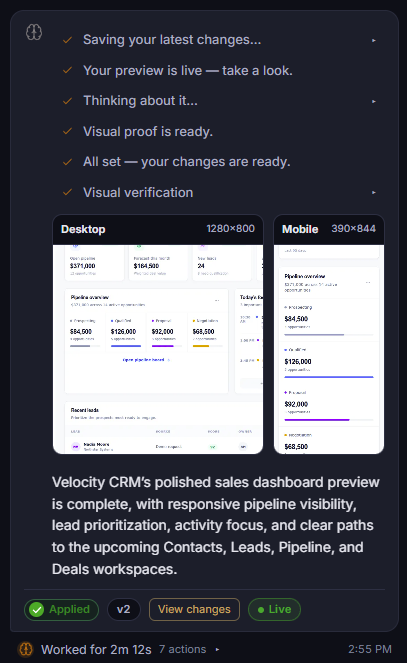
Applied confirms saved work. The version and change buttons let you inspect exactly which result the card belongs to.
The label can also say Answered, No changes, Stopped, or Needs attention. That tells you what the turn produced without requiring you to interpret the build narration.
Read the status literally. Answered means the turn returned information. No changes means the project state did not need a durable update. Stopped means the active work ended before normal completion. Needs attention means the card contains a specific issue or next step worth reviewing.
Example: A card can say Applied even when it includes a visual advisory. Inspect the saved app first; the advisory may concern only one follow-up detail rather than the entire build.
App Map
App Map gives you a picture of what Mango9 discovered in the project.
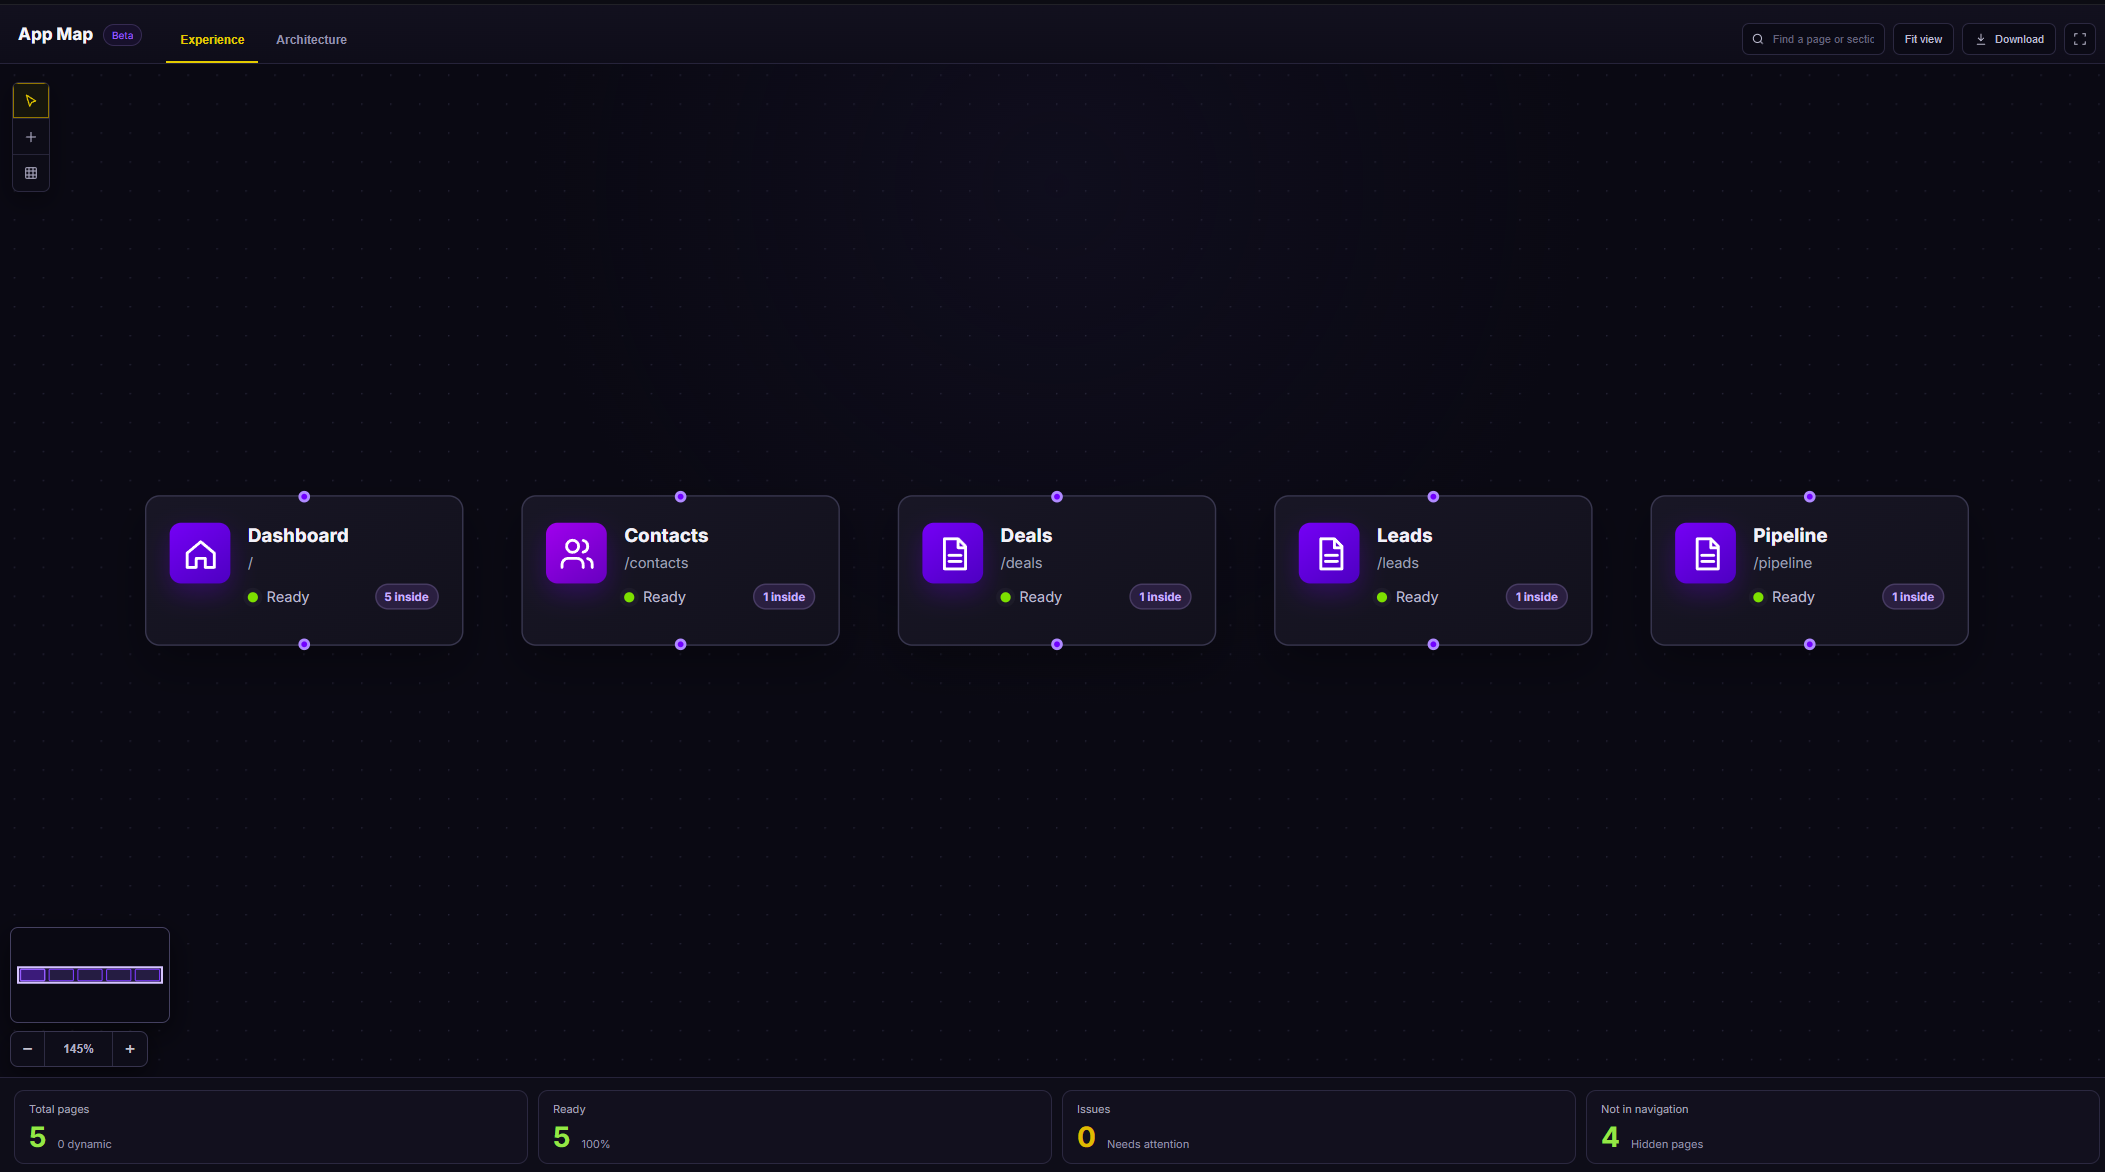
Experience shows the pages people can visit, their routes, and whether Mango9 found any issues.
Use Experience when you want to find a page, see which routes exist, or spot a page that is missing from navigation.
Experience is a map of reachable product surfaces, not merely a gallery of screenshots. A page card tells you its route and readiness, while the navigation information helps reveal a page that exists technically but is hard for users to find.
Example: If App Map discovers
/leadsbut the app's main menu has no Leads item, ask Build to add the existing route to the shared navigation rather than rebuilding the page.
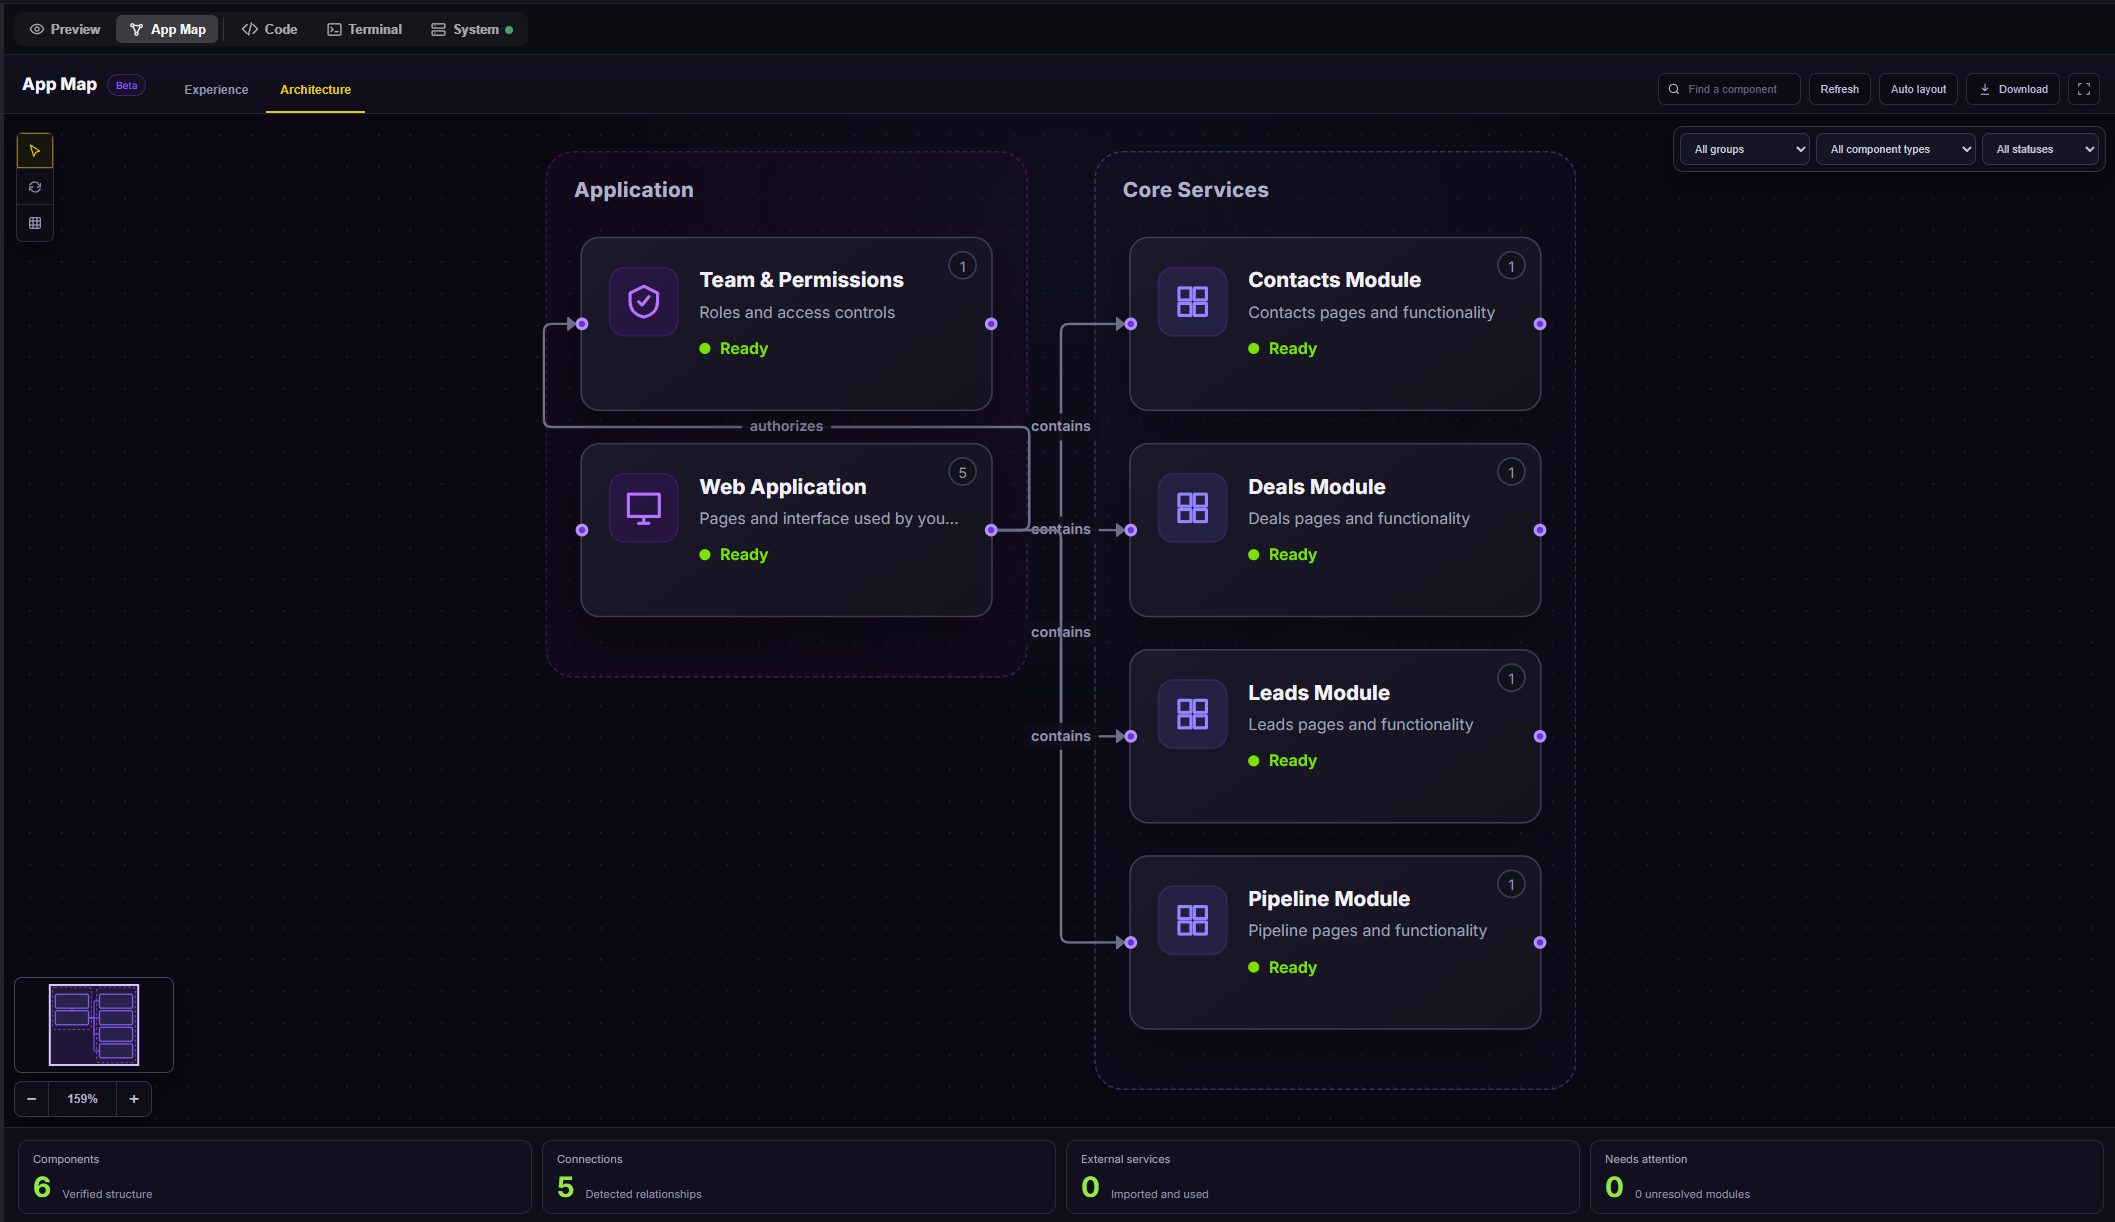
Architecture shows the larger parts of the app and how they connect. It is useful for understanding a more complex project without reading code.
Console
Console is the business and operations side of Mango9.
- Account areas include Projects, Chats, Team, Domains, Integrations, Account, Billing, and Plans.
- Project areas include Development Cloud, Production Cloud, environment settings, and application security.
Console actions can affect more than the appearance of one page, so always confirm the account and project shown. Team permissions determine which areas and operations each person can use. A teammate who can build may not be allowed to buy credits, connect a domain, or operate production.
Example: A builder can finish a checkout page in Studio, while an owner later adds the payment credential under Integrations and publishes it from Production Cloud.
Help & Docs opens separately, so you can read a guide while keeping the current Studio project open.